There are two ways to install HelpCrunch on your website — by following our Installation Wizard recommendations or by skipping it and doing everything from the 'Settings' section of your HelpCrunch account.
Installation Wizard
After you sign up and create your personal HelpCrunch account, you’ll be offered to install the HelpCrunch chat widget on your site following a few simple steps in the Installation Wizard.
STEP 1. To continue the installation process, just click 'LET’S GO'.
STEP 2. In the new window, choose how you want to install HelpCrunch — by adding the JavaScript code to your site or by integrating it with the third-party platforms or CMS.
You’ll also see a chat message from your HelpCrunch onboarding assistant at the bottom right corner of your page. The assistant is always ready to answer all your questions and guide you through the installation wizard if necessary. Just contact us via live chat.
STEP 3. Add the code snippet you've copied from the Installation Wizard to every page of your website on which you’d like to have a live chat widget. Place the code snippet right before the </body> tag in your page's html code.
You can also skip the Installation Wizard at any moment and install HelpCrunch from your account later.
Installing HelpCrunch from your account
Adding HelpCrunch to your site or app takes just a couple of minutes and is super easy.
1. Log in to your HelpCrunch account.
2. Go to Settings → Set up & Customize →Website Widgets and choose your website domain.

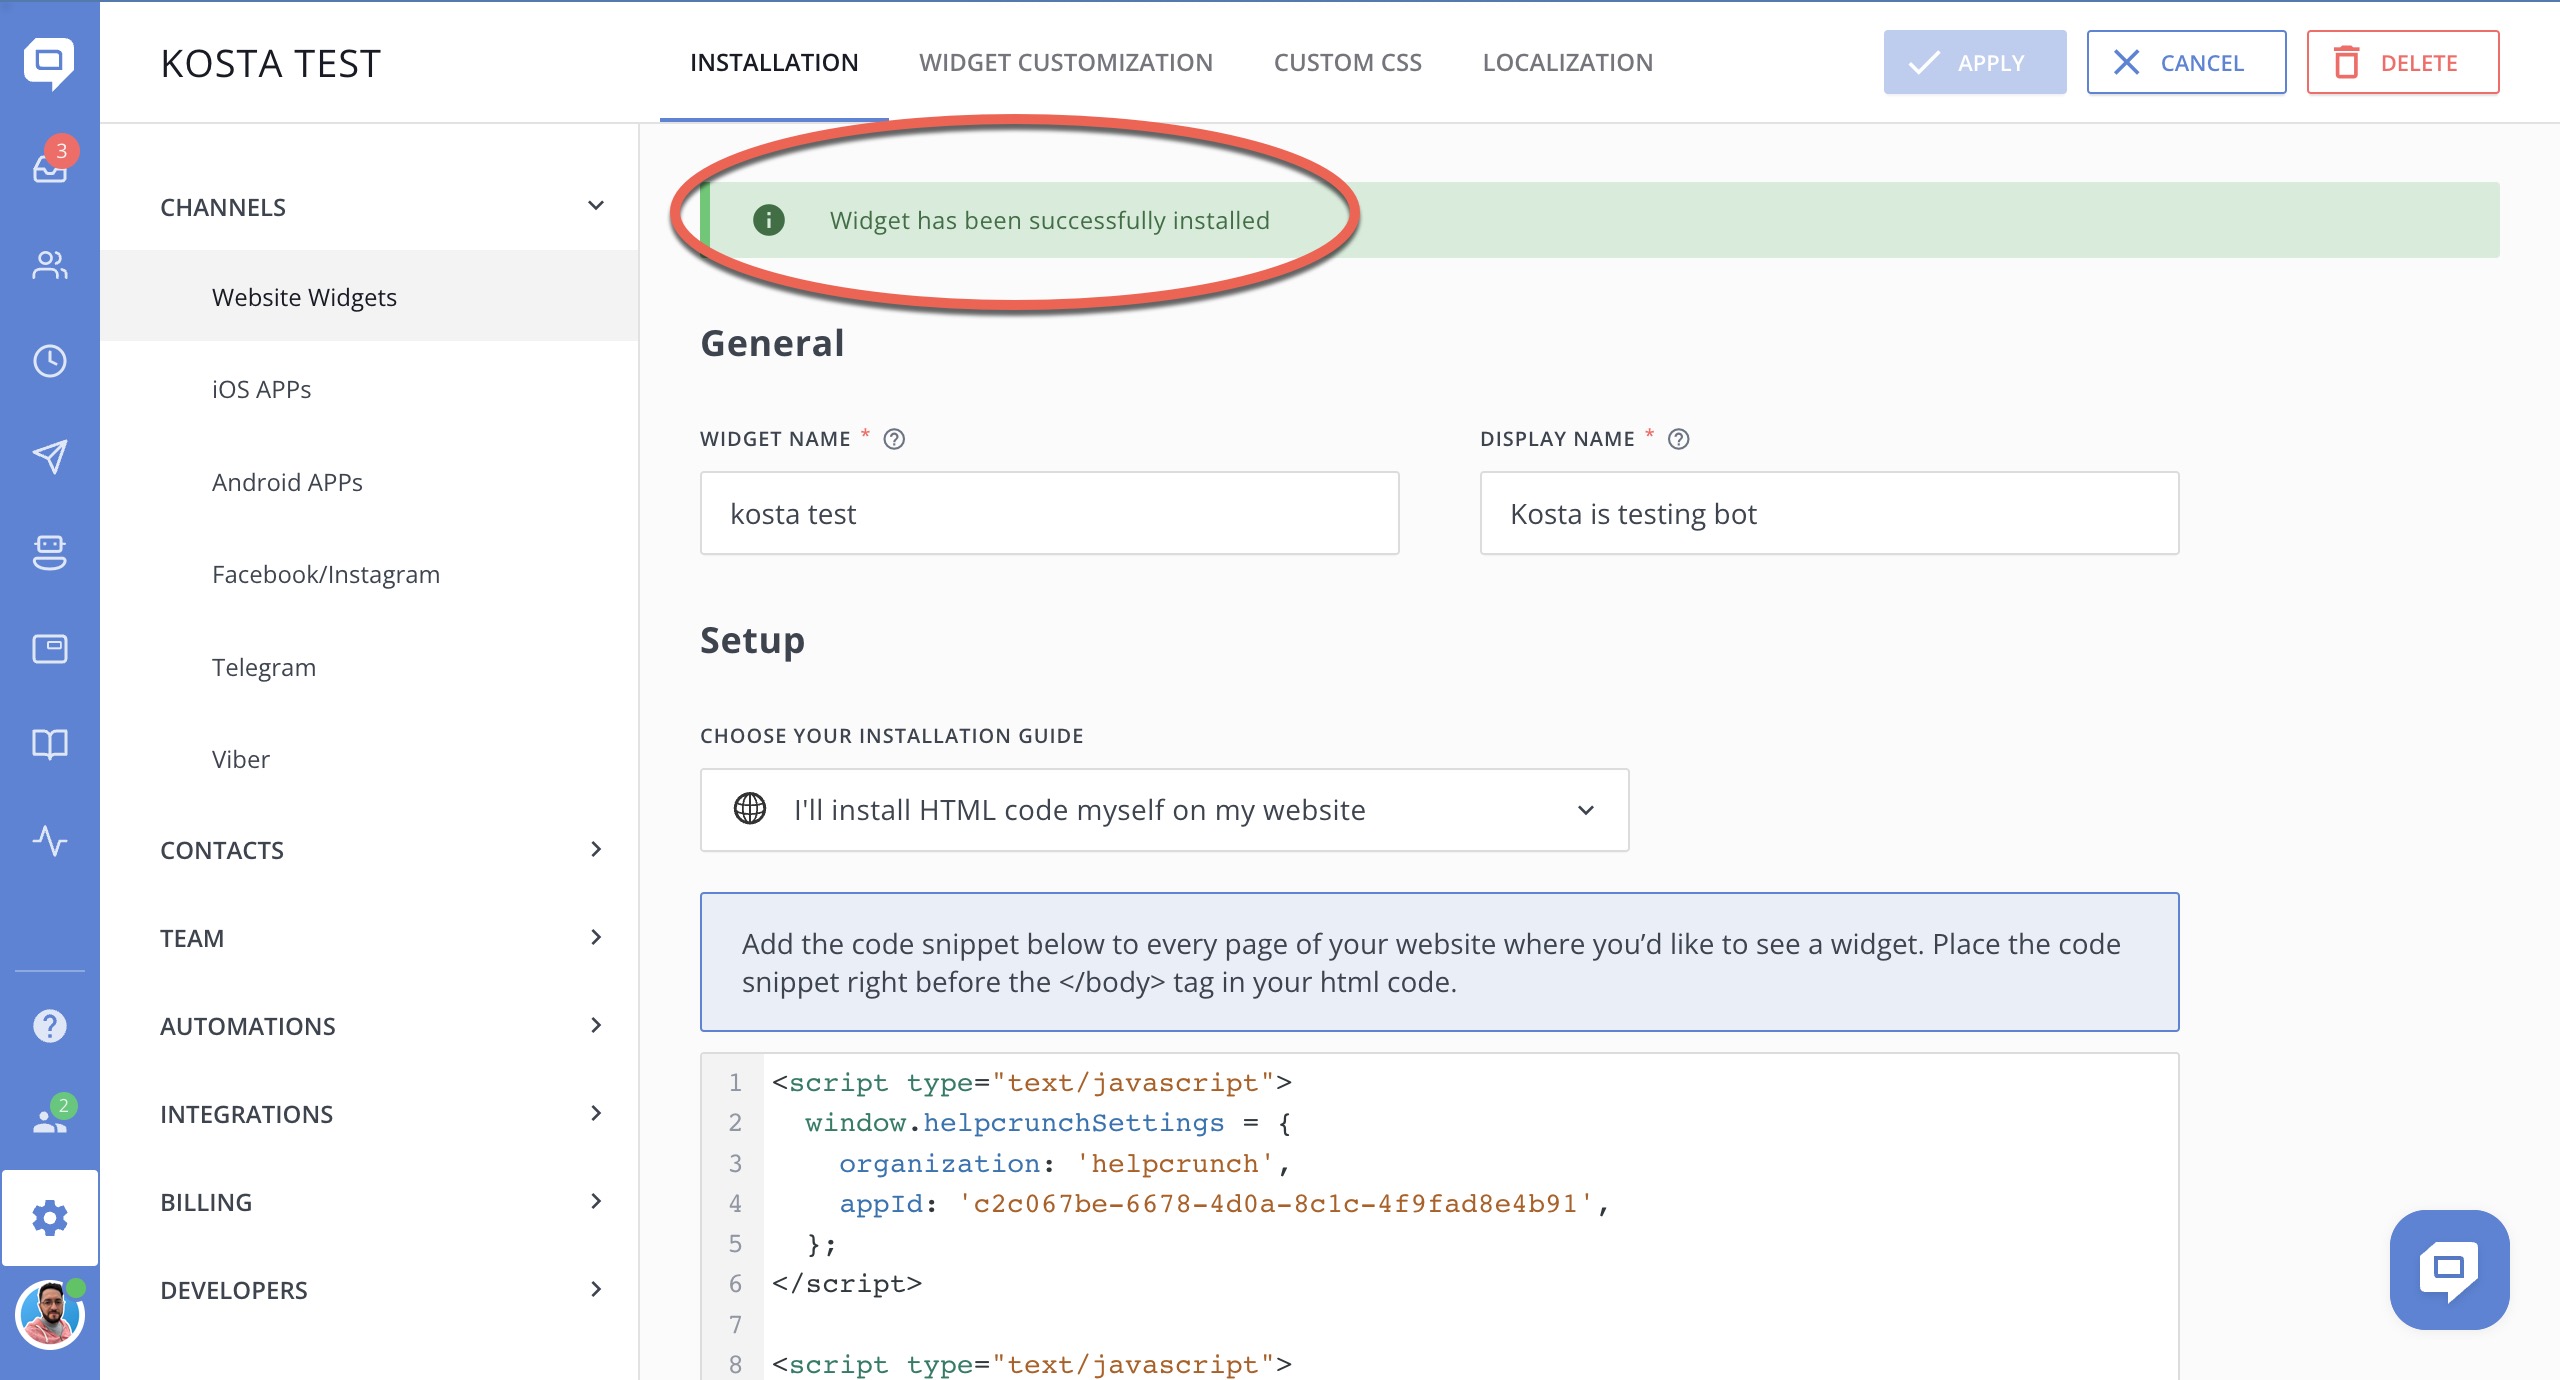
3. Copy the code snippet you see in the HTML box and paste it into every page of your website on which you’d like to have a live chat widget. Place it before the closing </body> tag in your page's html code.
4. Make sure that the widget is installed correctly. Go to Settings → Website Widgets → Your Website and check for the following message:

If something goes wrong, just hit us a message in chat and we’ll help you out.